How to Stretch a Canvas

So your carefully chosen canvas print has finally arrived in a mailing tube, now what?
Ideally you’ll find a local framer that you can consult with about stretching, plus framing if desired. And if you just want to learn a bit more about the process, read on!
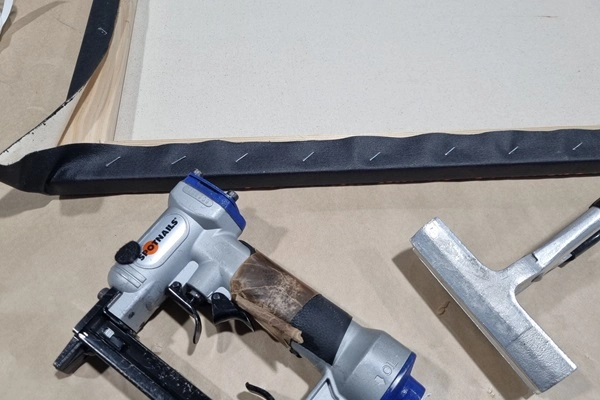
The Stretching Process (essential)
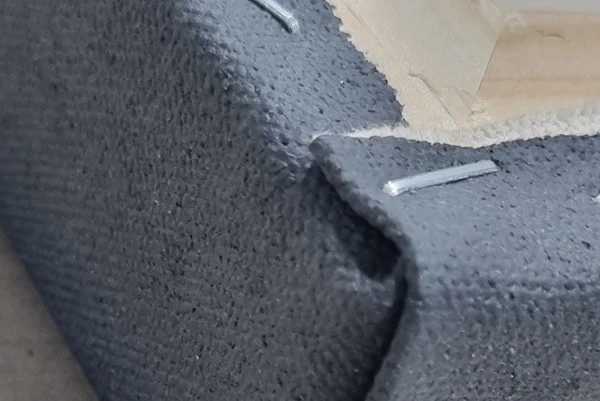
As the artwork is on a loose fabric, in order to hang it up for display the edges will require tensioning. This is achieved by wrapping the sides tightly around a specially built frame (stretcher bars) and stapling the edges down on the back to provide a neat and tidy edge along the sides.
Once hanging hardware has been added it is possible to hang as a stretched canvas with no further frame.
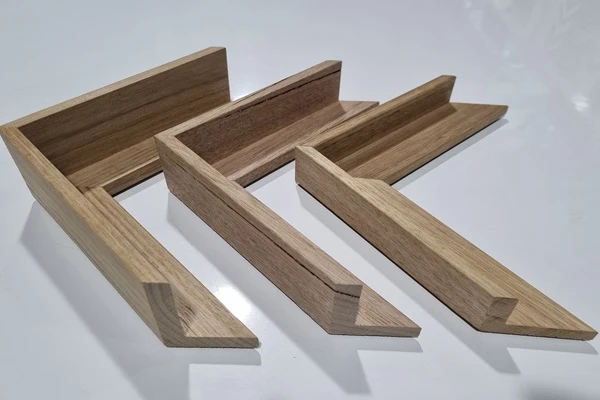
Stretcher bars can be of varying depths anywhere between 15mm to 50mm. Choosing a depth would depend on the available surplus canvas as well as if it needs to fit within an external frame. Shallow stretcher bars would be best suited to high traffic areas such as hallways, as well as smaller pieces, whereas the deeper bars are ideal to use for a large statement piece that may be the focal point in a room.
Nb if you want your image to wrap around the sides, what can be handy is to request a mirrored edge…this reflects the image in print so that it wraps the sides in colour and no blank canvas needs to be seen…ideal if you do not plan to add a frame!
Also, enough extra canvas is needed to be able to staple at the back which logically varies according to the depth of the stretcher. On occasion where there is almost no extra canvas, staples may be required on the sides which can be covered by a capping frame for a neat finish (see below).
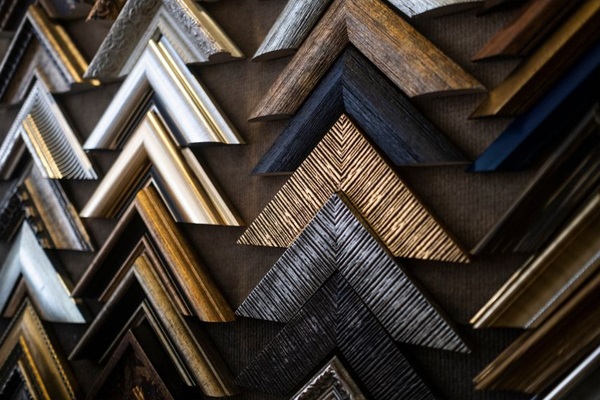
Frames for Canvases (optional extra)
Float frames leave a 5-10mm space between the edge of the canvas & the front face of the frame on all four sides, giving the impression that the artwork is floating untouched by the frame. It gives protection to the sides of the canvas as well as visually covering them, which is ideal if there are raw canvas or plain white sides that we may not want to see.
Float frames are a very popular option and provide a sleek modern look. These come in a host of colour options so you are able to pick something that really enhances the artwork whilst complementing your space.
Capping Frames are another style of frame which can be used around canvases that hide the edges. Similar to a classic picture frame but perhaps a little deeper, and without any distracting glass, this can be a very cost-effective way to dress up your stretched canvas. Their other benefit is where the corners of a pre-stretched canvas are not quite square which can happen with some weaker stretcher bars and budget canvases.
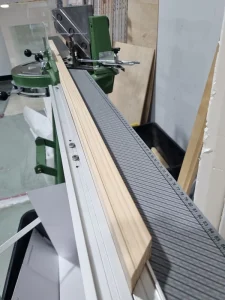
Tools Used to Stretch
Staple gun, stretching pliars, mm accuracy measuring tools, joining underpinner, guillotine to cut 45-degree angles in wood mouldings, staple remover, tape, hanging hardware (d-rings, coated wire, self-tapping screws). Self-adhesive bump-ons. Bracing bar as needed.
Fun to know but also good to know you don’t need to!
Of course all this is just to describe the process that your framer will undertake with your artwork, so hopefully your conversation makes a little more sense with some background information. Have fun choosing frames, the final element to getting exactly what you want to see hanging in your space. And enjoy having someone else do the hard work for you!